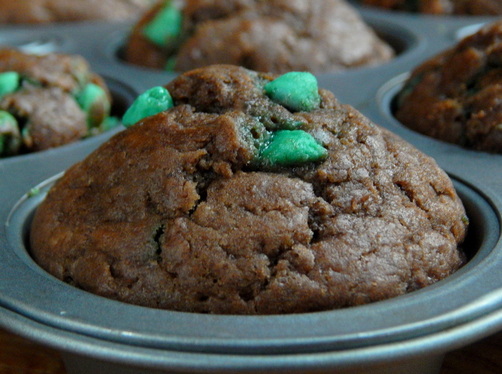
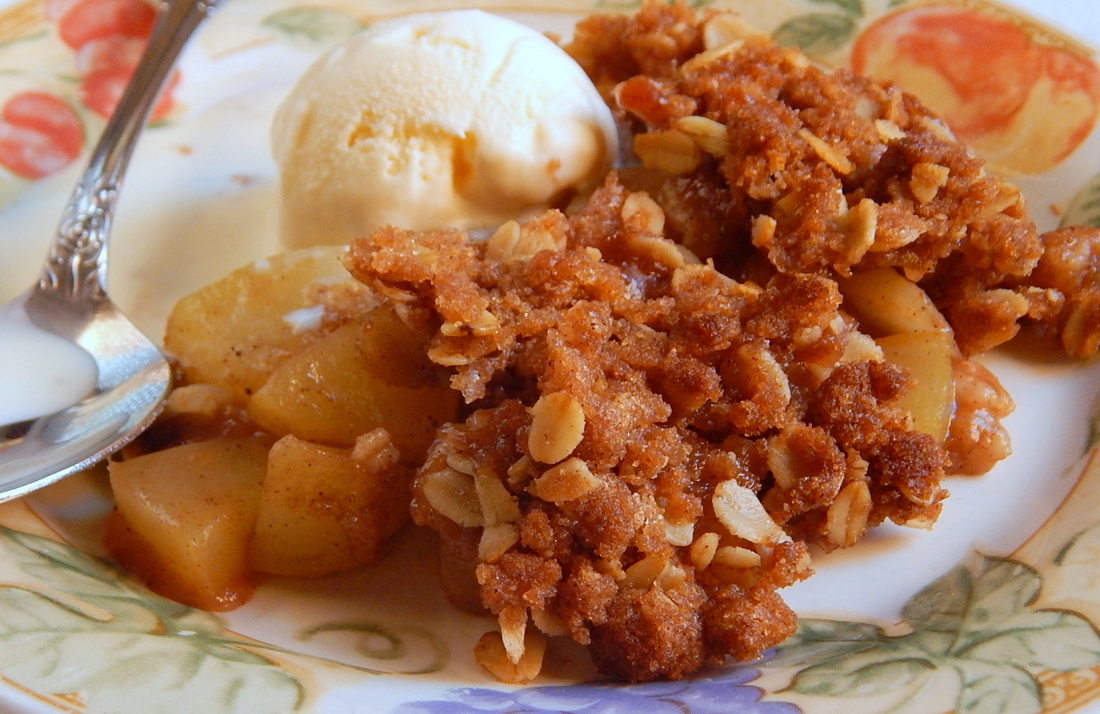
 Chocolate Mint Muffins
 We’re getting down to the wire on my cookbook deadline, or as my publisher and I put it, “about to cross the goal line.” I don’t like to use the word “deadline” because it gives the impression that you have to kill yourself to get there, but “goal line” suggests the crowd going wild as you spike the ball and do your signature touchdown dance in the end zone! Only a few treats left, mostly tested recipes that just need a decent photo.
So I’m back to our little retreat cabin at Lake Thunderbird (near Henry Illinois), with its tiny sink, reliable oven, and back wall of windows that creates beautiful light for food photography. It’s Columbus Day, no school, so the abbot excused me from my monastic duties to come here last night and all day today to bake and take photos. I made chocolate mint muffins last night (recipe HERE) along with a batch of white bread.
So I’m back to our little retreat cabin at Lake Thunderbird (near Henry Illinois), with its tiny sink, reliable oven, and back wall of windows that creates beautiful light for food photography. It’s Columbus Day, no school, so the abbot excused me from my monastic duties to come here last night and all day today to bake and take photos. I made chocolate mint muffins last night (recipe HERE) along with a batch of white bread.
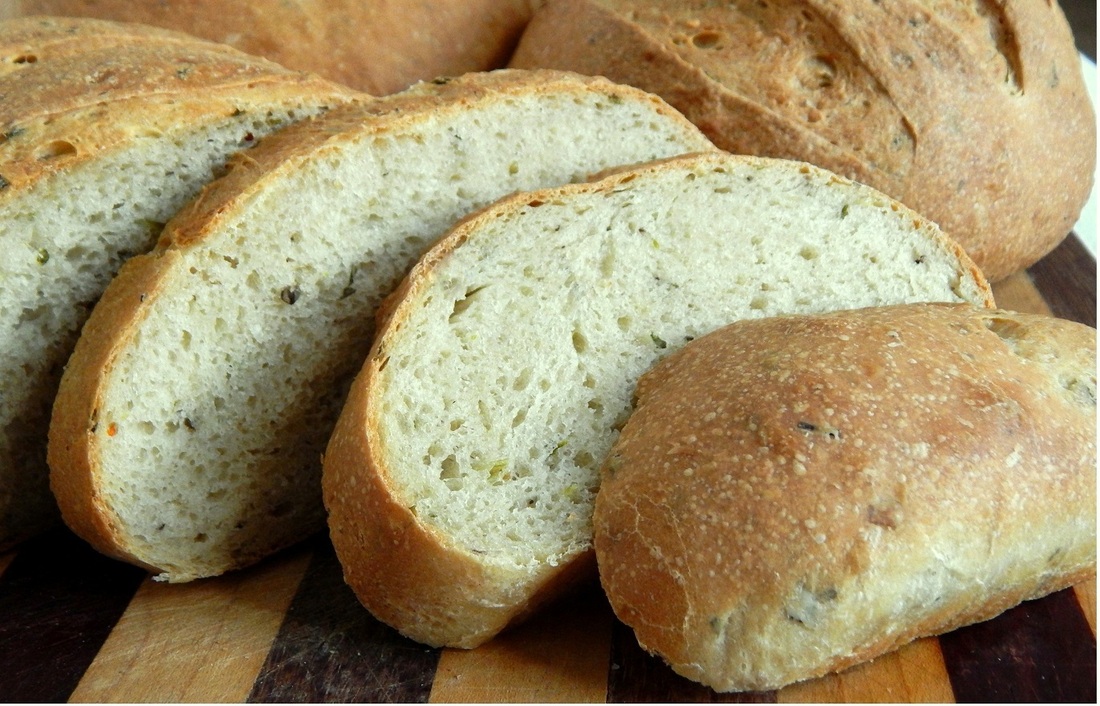
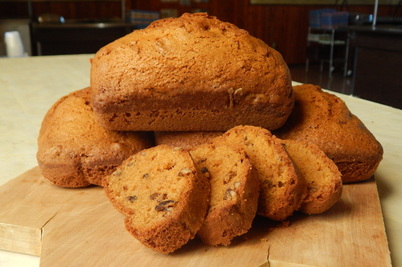
 A Pyrex Bake-A-Round and a portion of the resulting loaf
 I baked the white bread in a vintage Pyrex Bake-A-Round, a glass tube in a metal rack which produces a cylindrical loaf of bread. I’ll be honest here: I have no idea why anyone would want perfectly round slices of bread. Hamburger buns, maybe, but the apparatus is so bulky and fragile that it hardly seems worth the effort to store the thing. That being said, it’s still one of my favorite piece of bakeware, no longer available except at garage sales and on eBay. And those round slices are ideal for French Toast Custard Cups.
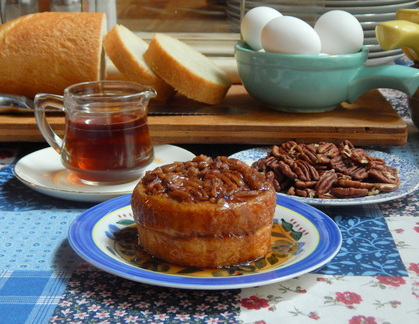 French Toast Custard Cups
 You can plenty of recipes for larger French toast casseroles, and they usually serve six to eight. But what if you’re single---do you have to host a brunch before you get to try that recipe? Or what if you have the whole family over for the holidays, but not everyone likes French toast? So I developed these individual serving casseroles, so you can make as few or as many as you like. Keep your eyes open at second-hand shops for soup bowls with handles—they are just the perfect serving size. You can find the recipe HERE.
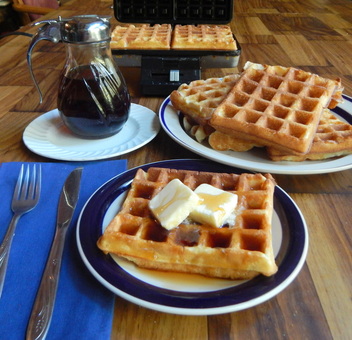
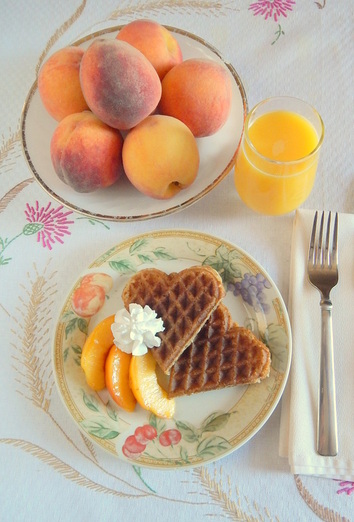
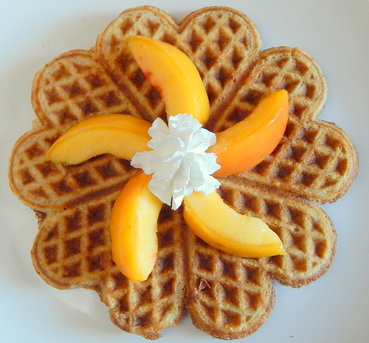
The photos for those two recipes took up my morning, which exhausted my camera batteries, so I ran into town for a fresh set, dropping off samples at a local family and at the police station. Then it was back to the cabin to make Sunday Brunch Waffles. This past summer I found a brand new Cuisinart waffle iron at Goodwill for a whopping $5, and I’ve been using it ever since to make sourdough multigrain waffles every time my sourdough starter needs to be renewed.
The convenience of pancake mixes and frozen waffles make them ordinary breakfast foods these days, but my Grandma Tootsie taught me how to make waffles with whisked eggs whites, and the result is the lightest waffle you’ve ever savored. The ones I made today are certainly not to be considered health food---four eggs, three-quarters a cup of oil, topped with butter and syrup---which is why I named them to suggest a special Sunday treat.
The convenience of pancake mixes and frozen waffles make them ordinary breakfast foods these days, but my Grandma Tootsie taught me how to make waffles with whisked eggs whites, and the result is the lightest waffle you’ve ever savored. The ones I made today are certainly not to be considered health food---four eggs, three-quarters a cup of oil, topped with butter and syrup---which is why I named them to suggest a special Sunday treat.
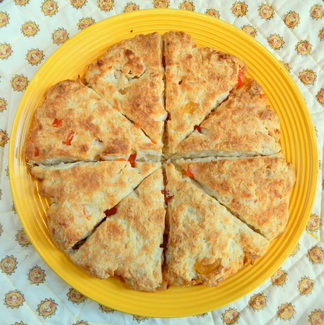
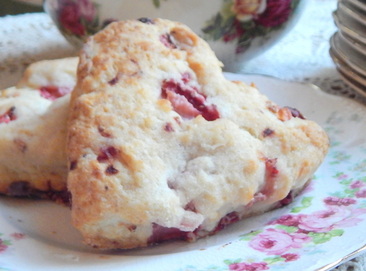
Next on my list was Tropical Scones. I spent about two weeks in “The Scone Zone” testing scone recipes almost every day, much to the delight of the brethren and the lay faculty of our school. Scones are ideal for our busy modern schedules, because they can be mixed and baked in about 30 minutes and can be flavored sweet or savory. You can use just about any kind of dairy for the liquid; milk, cream, and buttermilk are the most common, but sour cream and yogurt can be used as well. Seeing coconut yogurt in the store inspired me to develop a scone recipe with tropical flavors. They are best served warm with a dollop of apricot chutney.
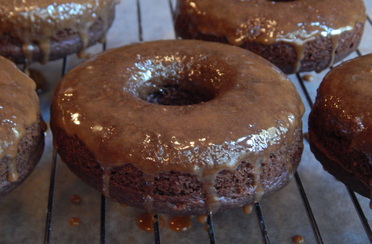
I finished off the day with a retest of Baked Chocolate Donuts. I used to make baked donuts with yeasted dough but that took more time than most people have in the morning, so I developed a baked cake donut recipe that can be done in half an hour. My first version, however, made too much batter and overflowed the pan, so I cut back on the amount of flour and buttermilk to make less batter. The results were much more satisfactory. The cookbook will have a recipe for mocha frosting, but I made these with a chai tea glaze instead. We had some containers of sweetened chai tea left over from a fundraising event, so I put a cup in a saucepan and simmered it until it was reduced to about a quarter cup. While it was still warm I whisked in a cup of powdered sugar and a pinch of salt, which yielded a scrumptiously exotic glaze for the chocolate donuts.
Now I have to pack up all my equipment and head back to the abbey. There are still a few recipes left to test, but it’s fourth and goal to go!
God bless and happy baking!
Now I have to pack up all my equipment and head back to the abbey. There are still a few recipes left to test, but it’s fourth and goal to go!
God bless and happy baking!


 RSS Feed