The Bread Monk
  • Home
  • My Bread Blog
  • Breadhead Videos
  • Recipes
  • Fr. Dom's Books
  • Events/Programs
  • Shortcut Stollen
  • New Page

Jerseyville HCE

10/29/2012

0 Comments

 
Picture
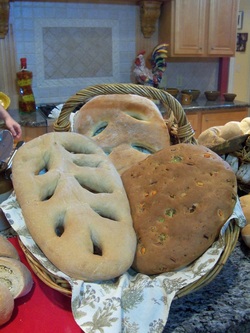
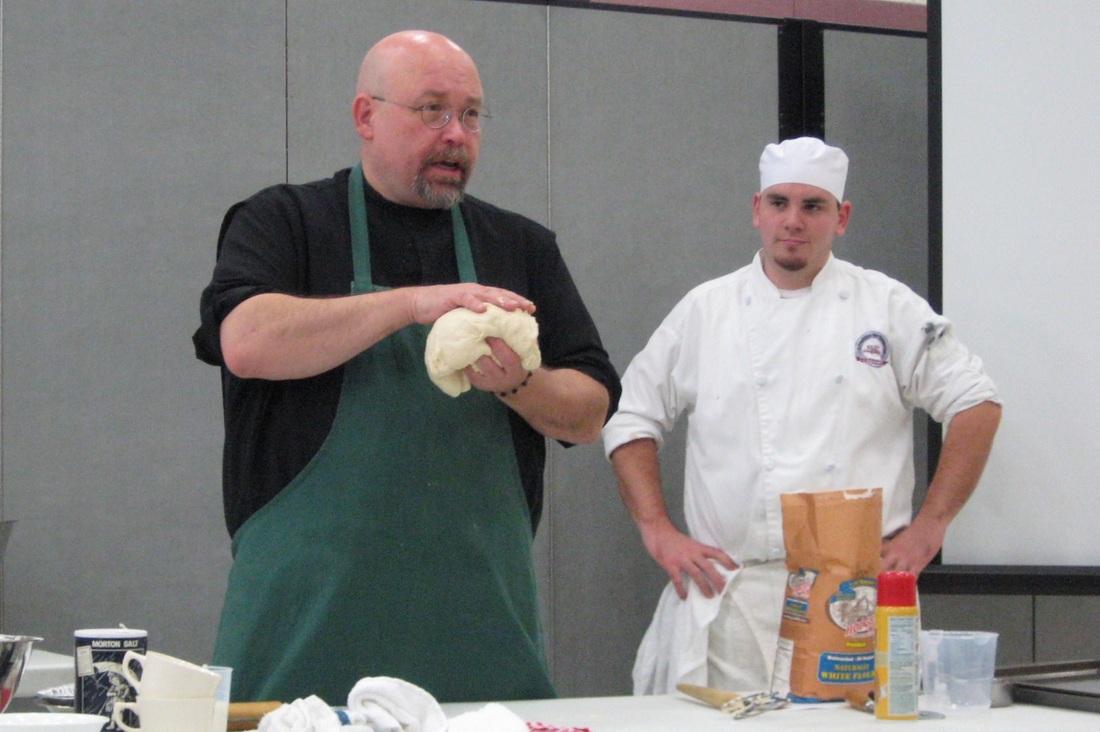
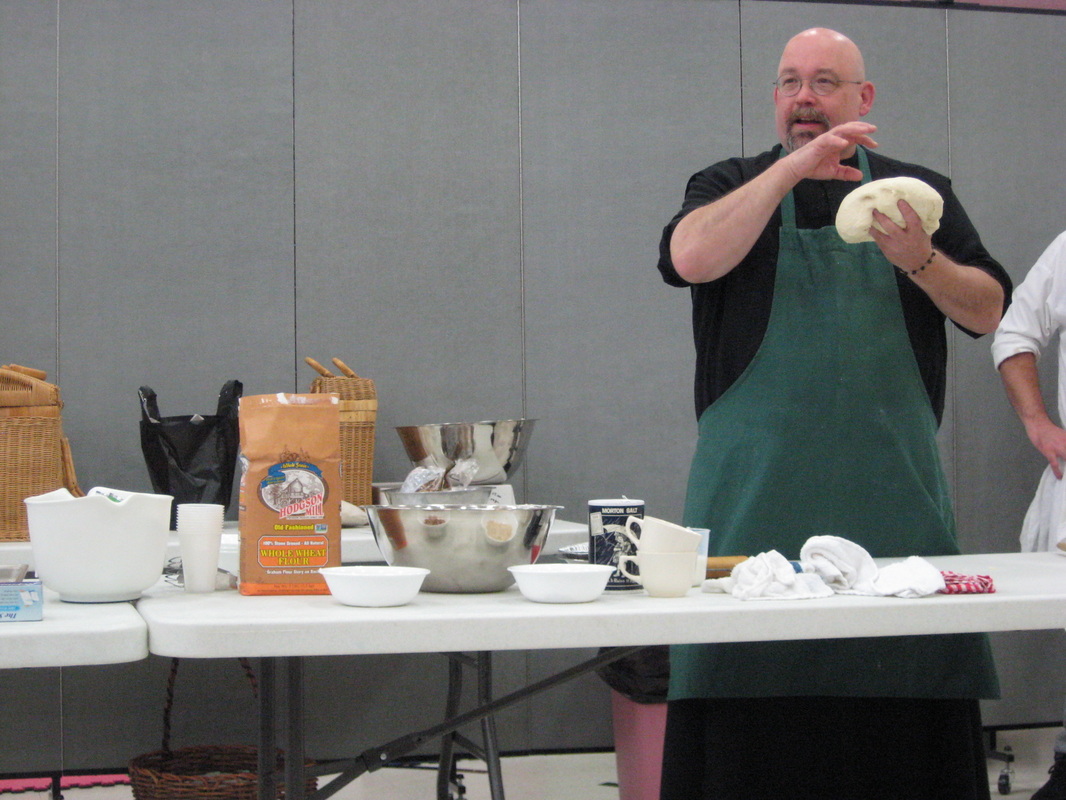
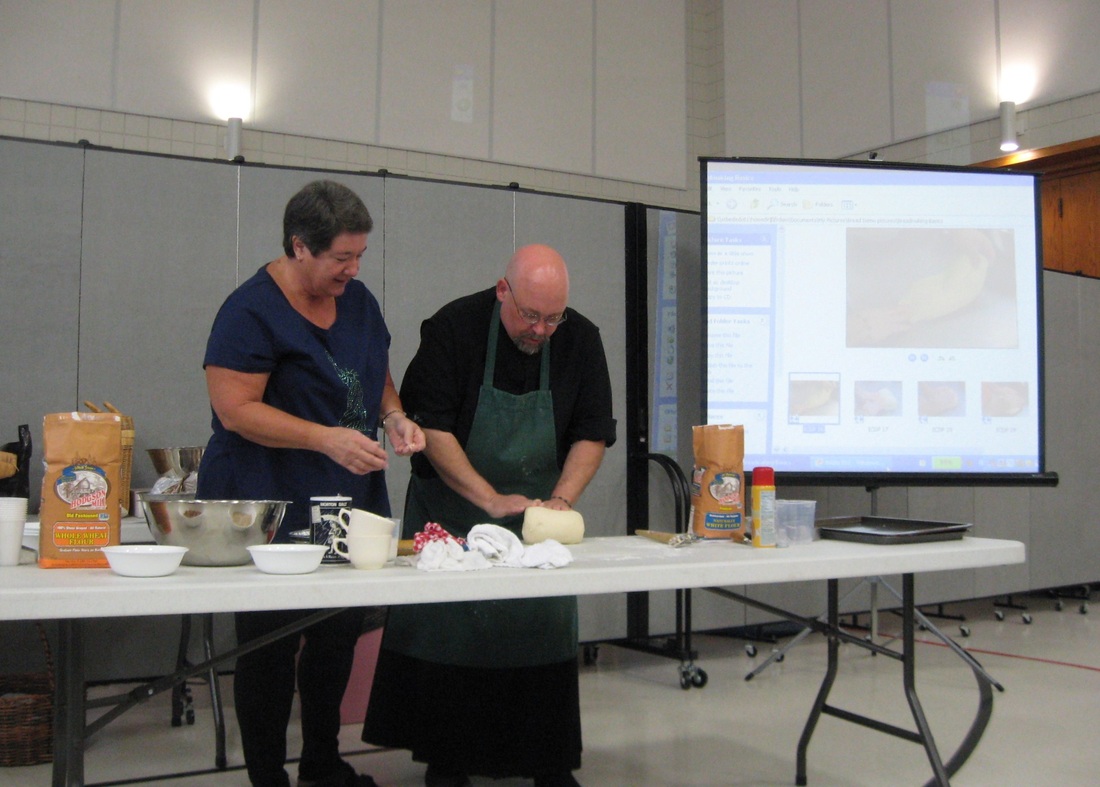
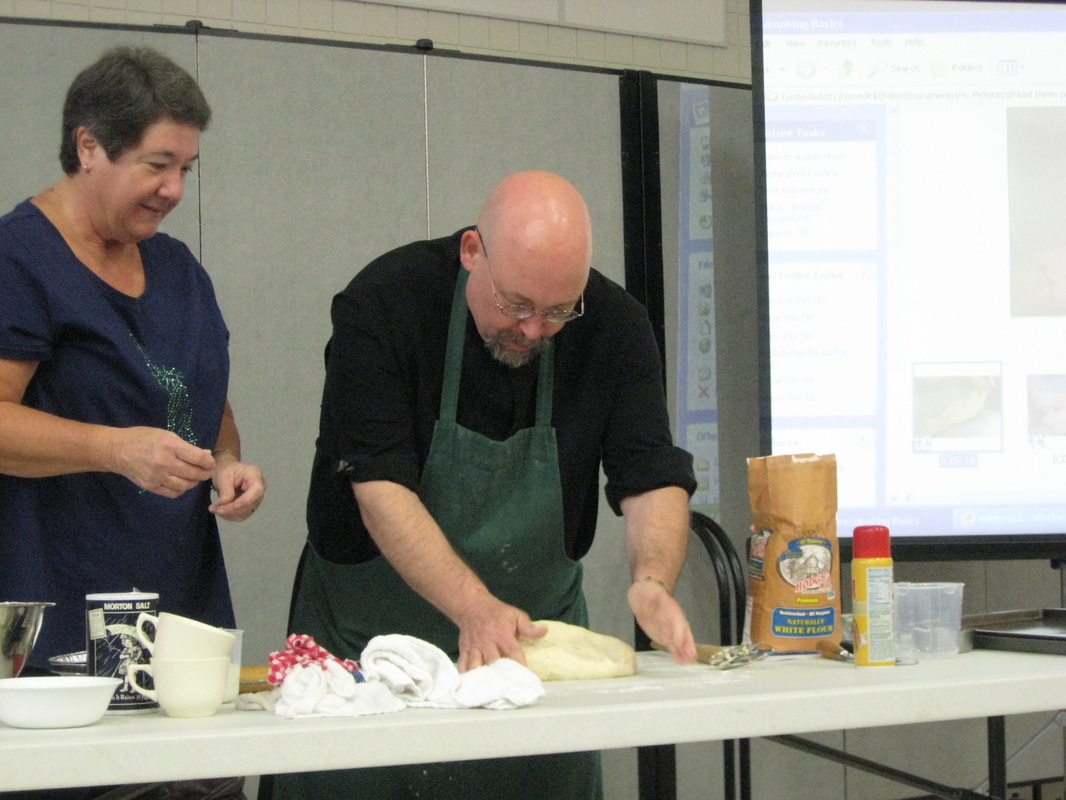
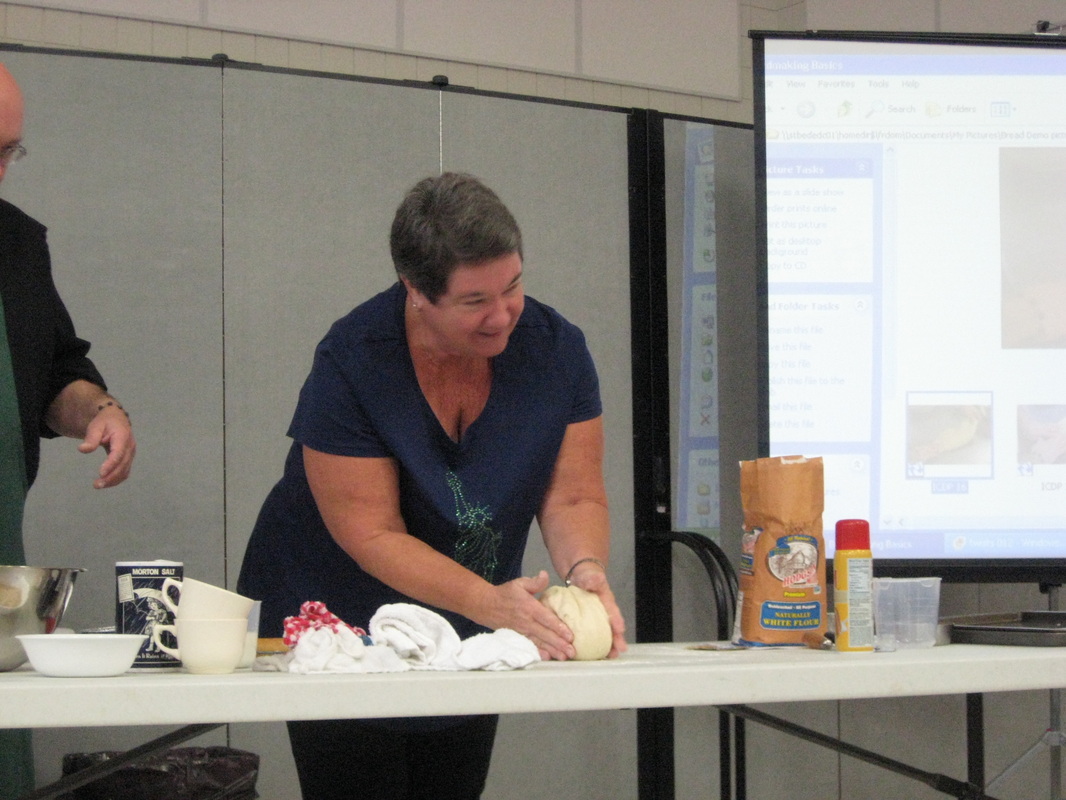
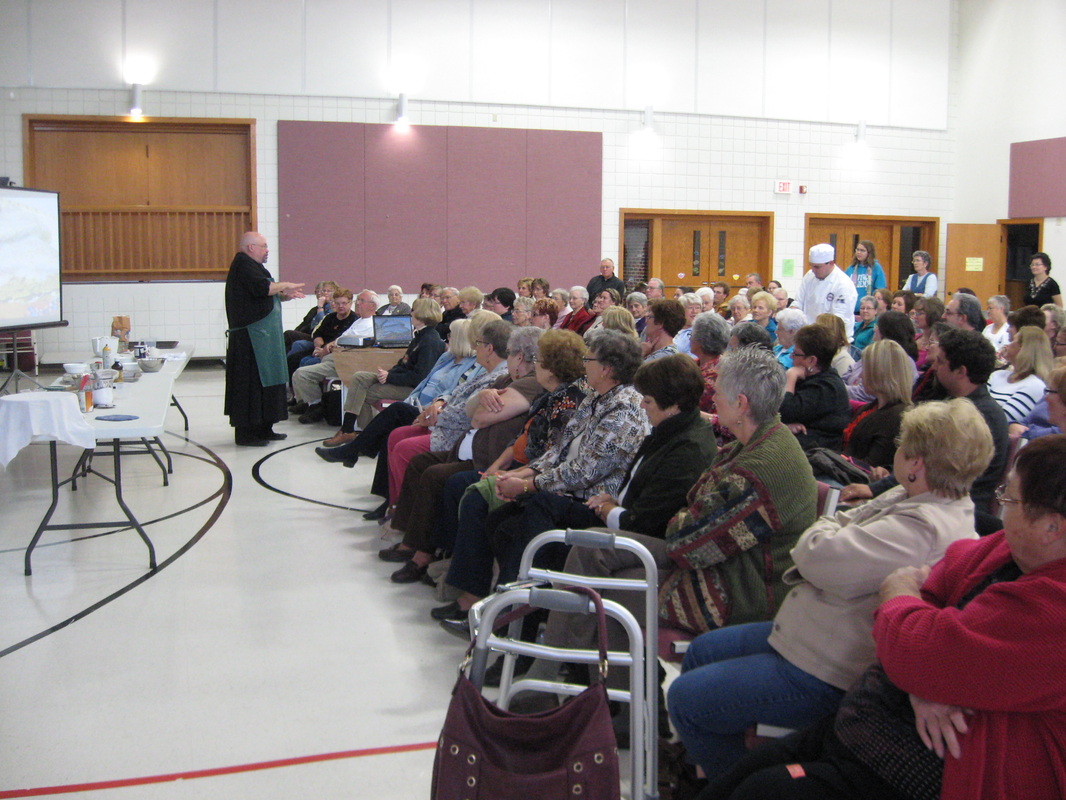
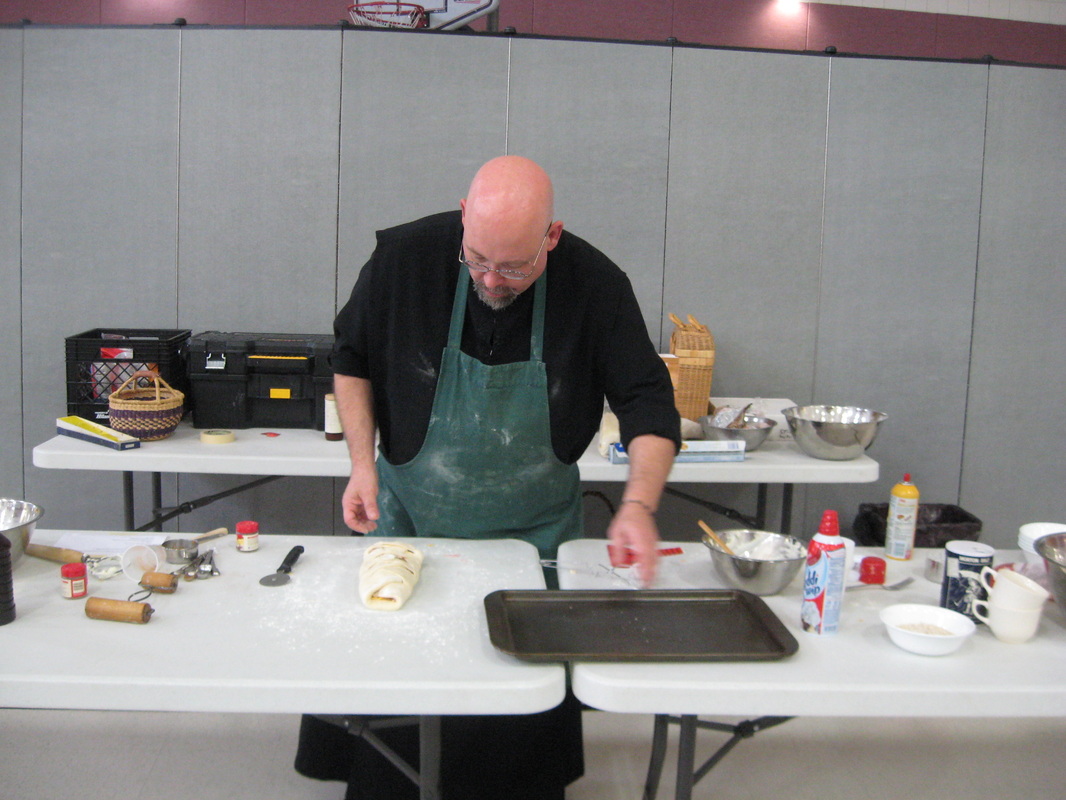
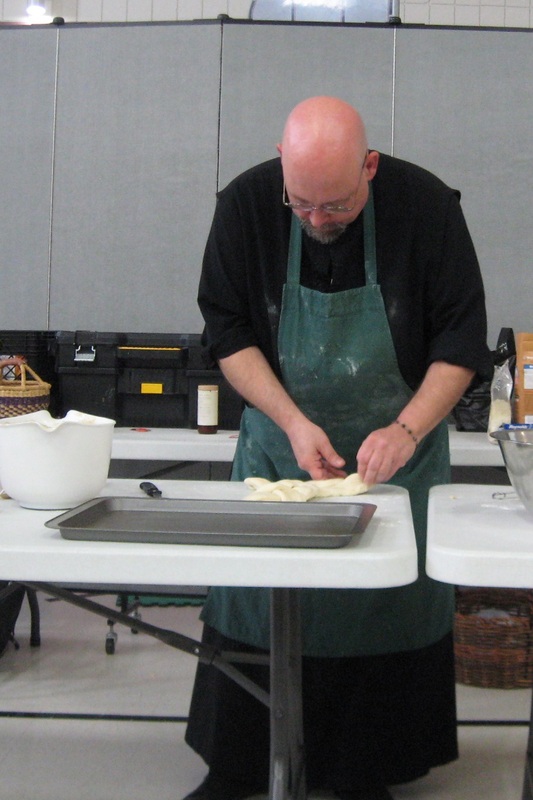
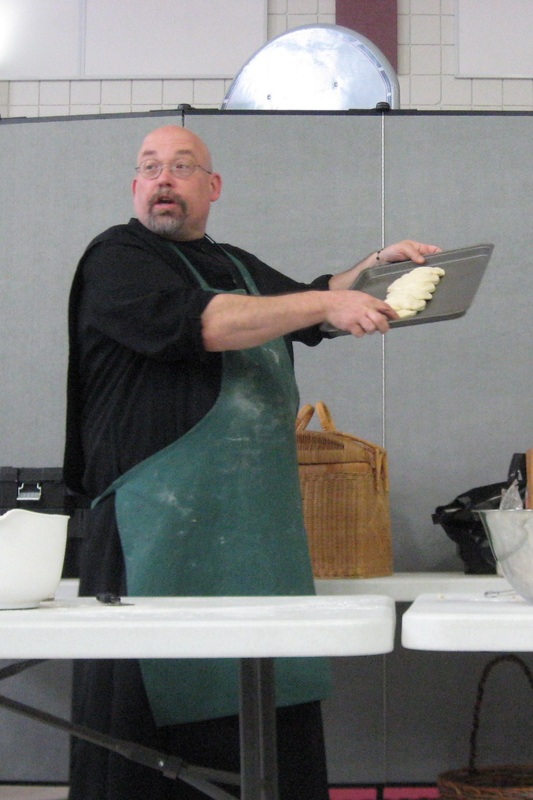
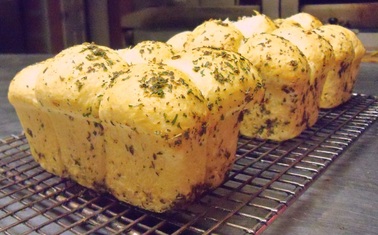
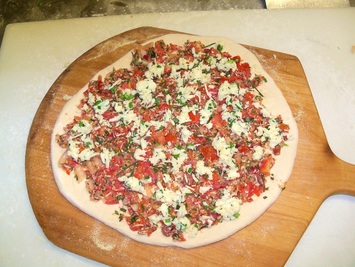
This past weekend I was in Jerseyville Illinois to present "Lessons from the Breads of Christmas" for the local HCE (click here for the page with the description of the program).  They sold over 300 tickets to the event, so I was glad to have a projector and a good sized blank wall to be able to show photos of the various steps for the breads.  I did a few live demos, too, including fougasse, the bread with the slashes in it, shown to the left.  It's a traditional bread for Christmas Eve in Provence.  Sometimes it has walnuts or raisins (or both) or it's made as a savory bread with onions or olives. 

Picture
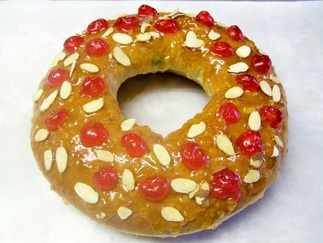
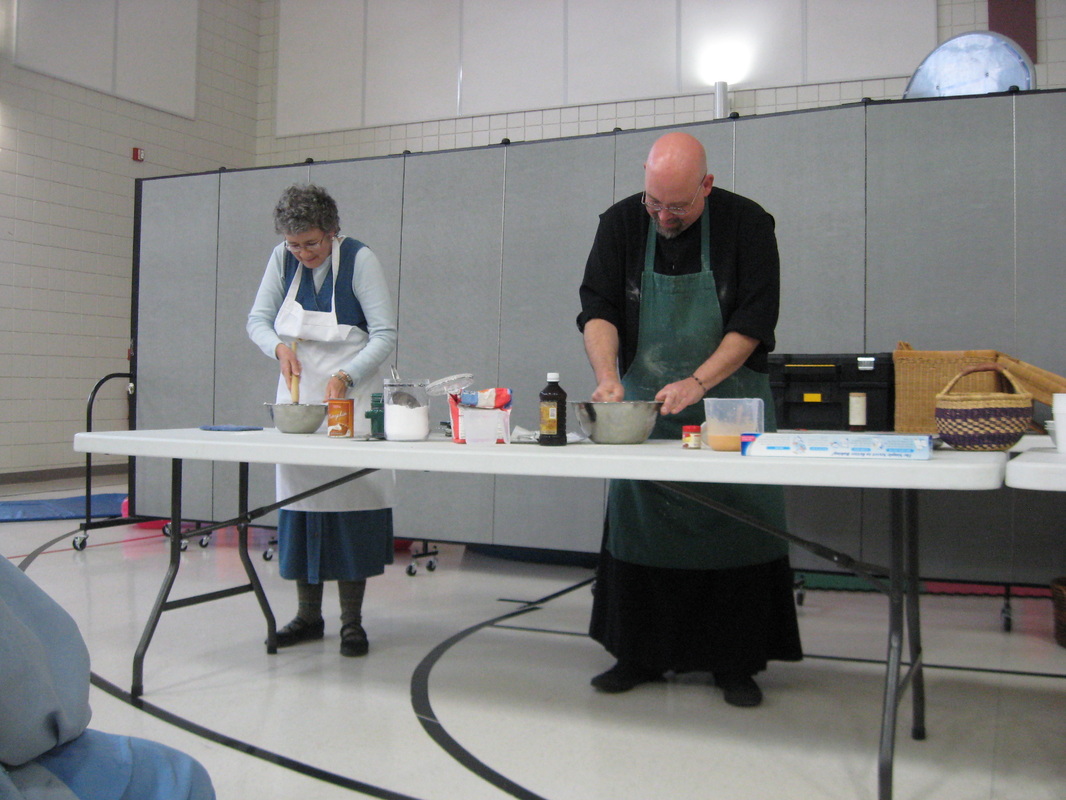
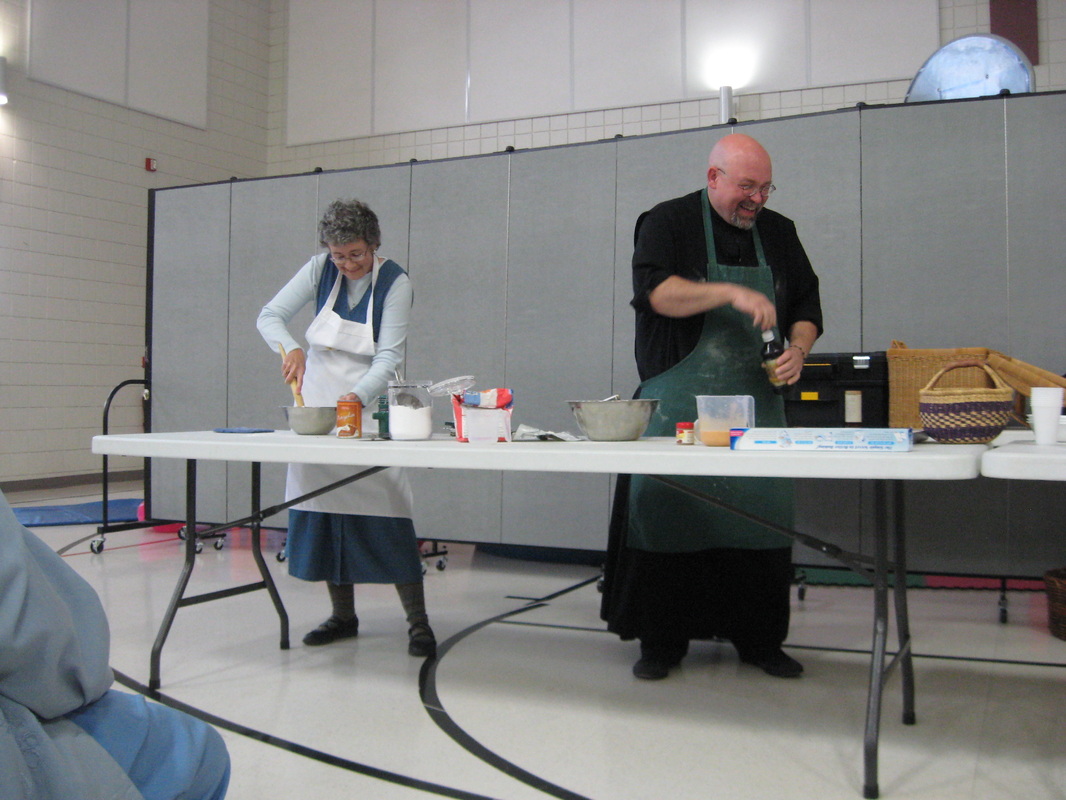
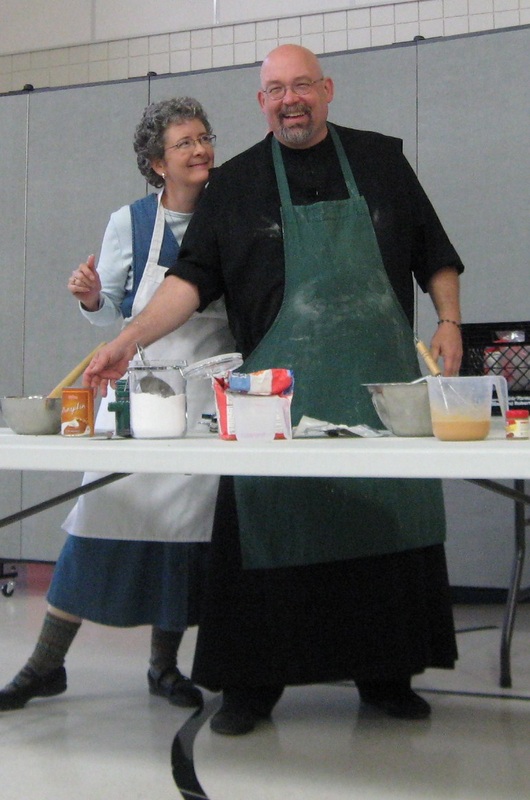
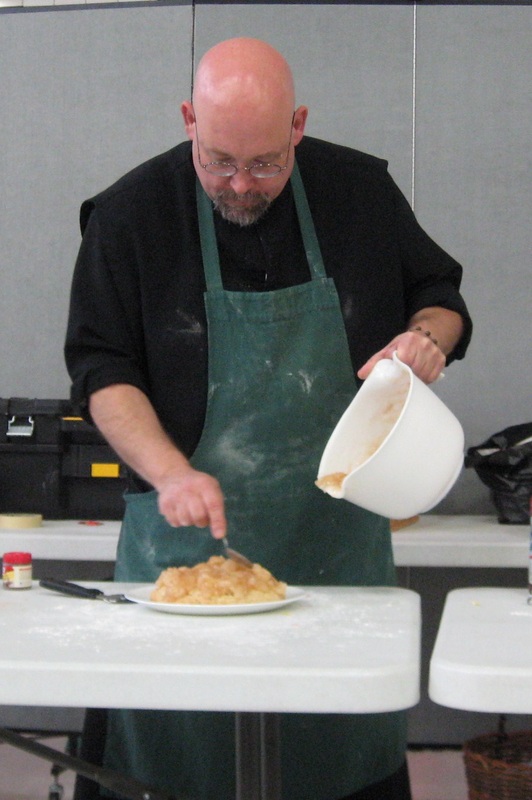
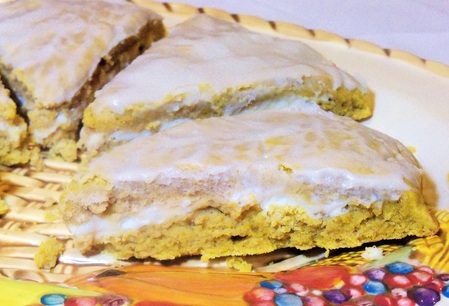
I also made Bolo Rei, the Portugese bread for Epiphany.  It's a yeasted dough flavored with lemon and orange, topped with apricot preserves and orange marmalade, then studded with candied cherries and sliced almonds.  Traditionally a bean is hidden inside, and the person who gets the slice with the bean is King or Queen for the day.  I was lucky to have my kitchen angel Kevin along for the trip to hellp with prep.

Picture
I after I celebrated the 5:30 p.m. Mass at Holy Ghost on Saturday night Kevin and I ate at Tony's North on State Street.  Best toasted ravs ever, even better than what I've had on the Hill in STL.  Kevin had a perfectly cooked ahi tuna steak, and I had the baked lasagna.  (I've eaten there before and the pecan crusted chicken is excellent as well).  The pecan caramel upsidedown apple pie serve hot with ice cream was easily big enough for two and utterly statisfying.  Overall, excellent table service by our waitress, although we experienced a less than attentive hostess with our seating.  I highly recommend this restaurant if you are every anywhere near Jerseyville at lunch or dinner.

Picture
If you are in town around breakfast time, don't bother going anywhere but the White Spot, also on State Street, right by the Knights of Columbus.  The omelets are cooked to perfection, without any browned eggs but a generous portion of fillings.  We sat at the counter and watched the cook turn out four in a row, each of them flawless.  Better than average coffee (for a diner), and I would say the same about the sausage, bacon and fried potatoes.  Friendly service, too.  I suspect they could turn out a decent lunch and dinner as well.  The locals confirmed this, but I intend to test the theory myself if I get a chance---nothing like a good patty melt!

0 Comments

Effingham photo album

10/23/2012

0 Comments

 
Picture
Had a great time at Effingham a couple of weekends ago, doing a demo for the local HCE.  We made ice cream muffins, pumpkin scones and nutty whole wheat shortcake with tart apple topping.  St. John's Lutheran Church was the venue and the staff there was very hospitable.  Best of all, a representative from Hodgson Mills was there and brought gift bags for everyone!  She took some pictures, which I have posted here along with some photos from the church. 

0 Comments

Sugar cookies

10/23/2012

0 Comments

 
Picture
I received an e-mail to the website reminding me that I had promised to post my mother's sugar cookie recipe.  It uses cake flour instead of all purpose, almond extract instead of vanilla, and powdered sugar to dust the countertop and rolling pin, all resulting in a tender but crisp cookie with a unique flavor and almost no need to use frosting.  But decorating cookies was always the fun part when we were growing up, so feel free to break out the jimmies!

(Full disclosure---I got this photo from a Good Housekeeping website.  I also intend to steal the idea for a Christmas card!)

Get my mom's recipe here.

0 Comments

How did we miss that?!!

10/9/2012

1 Comment

 
Picture
How to be a Breadhead has been shipped from the printer,  but hasn't been distributed yet because of a glaring error on page 42.  In the recipe for Pull-Apart Garlic Bread, it says to start with 2 cups of melted butter instead of 1/2 cup!  I suspect that Paula Deen snuck in and changed it while we weren't looking.  The folks at Reedy Press will have to cover the mistake with tiny stickers---about 2600 copies.  I already did that on the copies I have.  That normally would be a tedious job, but I did it during the second game of the playoffs, the victorious Cards vs. the Nats, so it didn't feel like such a chore.

1 Comment

Recipes from this past weekend

10/8/2012

1 Comment

 
This weekend I gave some demos in Effingham and St. Louis (photos and moreand was asked for some recipes which I am posting here.

Gluten-Free Pumpkin Scones with Cream Cheese Filling
2 ½ cups all-purpose gluten-free baking mix (I used King Arthur’s).
1/3 cup light brown sugar
1 teaspoon ground cinnamon
½ tsp. pumpkin pie spice.
¼ tsp. nutmeg
1 ½ teaspoons baking powder
1/4 teaspoon salt
1 stick cold butter, cut into pieces
1 egg
1/2 cup milk
1/2 cup canned pureed pumpkin (NOT pie filling)
1 teaspoon pure vanilla extract
8 oz. cream cheese, softened
¾ cup powdered sugar, divided
2 Tbs. milk

Preheat oven to 400 degrees F.  Line a baking sheet with parchment paper and have one additional sheet of parchment available.  Mix the softened cream cheese with ½ cup of powdered sugar and beat until smooth.

In a large bowl, sift together the flour, sugar, spices, baking powder, and salt.  Cut the butter into small pieces and blend into the flour mixture with a pastry blender or two knives.  The mixture should look like coarse crumbs.  In a separate bowl, mix together the milk, egg, pumpkin puree and vanilla.  Add the milk mixture to the flour mixture and mix just until the dough comes together.  Knead dough gently four or five times while it is still in the bowl.

Remove half of the dough from the bowl and pat the dough into an 8-inch circle in the center of the baking sheet (it helps to butter your hands so the dough will not stick to you).  Spread three quarters of the sweetened cream cheese evenly over the circle of dough.  Spray the second piece of parchment lightly with cooking spray, and pat the second portion of dough into an 8-inch circle.  Carefully flip the second circle of dough on top of the first and peel off the parchment paper. 

Using a large rotary pizza cutter, cut dough into 8 wedges.  Bake at 400 degrees for 20 minutes, or until round is firm on the edges but still slightly soft in the middle.  Cool on a wire rack.  Beat the remaining cream cheese with ¼ cup of powdered sugar and the 2 tbs. of milk to make a glaze.  Spread glaze on the scones and cut apart before serving. Makes 8 large scones.

Note--You can easily substitute all-purpose flour for the gluten free baking mix.

Cheddar Chive Drop Biscuits
2 cups all-purpose flour or gluten-free baking mix
½ tsp. salt
1 Tbs. sugar
2 tsp. baking powder
2 Tbs. chopped fresh herbs
½ cup vegetable shortening
1 cup milk
¼ cup shredded sharp white cheddar
Preheat oven to 425 degrees. Stir dry ingredients together in a medium size bowl.  Cut in vegetable shortening using a pastry blender or two knives.  Add milk and stir until just blended.  Drop by tablespoons onto a lightly greased baking sheet.  Bake at 425 degrees for 12 to 15 minutes, or until lightly browned.  Cool slightly and serve warm.  Makes 12 biscuits.

Herbal Encouragement Bread
I developed this recipe as a bread to share with a friend who is going through a difficult time, as several of the ingredients have a symbolic meaning.  The sour cream symbolizes making the best of something that has gone bad.  The onions of course represent tears, and the thyme is the herb of perseverance and courage, as this hardy plant thrives in the rockiest and harshest of environments.  The loaf is braided to suggest that although things in the person’s life may look tangled and confused, stepping back and reflecting may reveal both a pattern and a purpose.  A fresh loaf bread with a hand-written note explaining its message would mean far more than any store-bought card.

¼ cup warm water (100° to 110° F)
1 pkg. Active Dry Yeast
1 cup sour cream
1 egg
1 Tbs. vegetable oil
2 tsp. honey
¼ tsp. baking soda
1 tsp. salt
¼ cup minced onion
½ tsp. dried thyme
4 to 4½ cups all-purpose unbleached flour

Dissolve yeast in warm water and allow to develop until foamy.  Heat sour cream to 110° to 120° F and pour into a medium size mixing bowl.  Add egg, oil, honey, soda, salt, onion, and thyme, and stir until thoroughly mixed.  Add yeast and stir until combined.   Add 4 cups flour, one cup at a time, mixing thoroughly after each cup.  Turn dough out onto a lightly floured surface and knead gently for 1 minute.  Allow dough to rest for 10 minutes (this resting period helps the dough to “firm up”).  Knead for another four minutes, adding small amounts of flour as needed to keep the dough manageable---dough will be elastic but slightly sticky.  Lightly oil the surface of the dough and place in the rinsed mixing bowl.  Cover with a dish towel and let rise in a warm, draft-free place about 1 hour, or until doubled.  Punch dough down and knead briefly to expel the larger air bubbles.  Divide dough into three equal portions.  Roll each portion into a rope 18” long.  Braid ropes to form a loaf, tucking the ends underneath.  Place on a lightly greased baking sheet.  Cover and let rise until doubled, about 30 minutes.  Bake in a pre-heated 350° oven for 25 to 30 minutes, or until golden brown and bread sounds hollow when tapped.  Cool on rack for 15 minutes, then brush the top and sides of the loaf with butter if desired.

Notes ---You should feel free to substitute sugar or molasses for the honey in this recipe, according to personal taste.  The chopped onion could be red, yellow, white, or green, depending upon what’s in the fridge.  I usually sauté onions before adding them to dough, but in this case I added them directly and the result was just fine.
1 Comment

My first ever gluten free recipe!

9/10/2012

4 Comments

 
Picture
Gluten-free pumpkin
scones with a sweet
cream cheese filling!  Not dairy free or vegan, but it's a start.  On my way to a decent gluten free pizza crust!

Gluten-Free Pumpkin Scones with Cream Cheese Filling
2 ½ cups all-purpose gluten-free baking mix (I used King Arthur’s).
1/3 cup light brown sugar
1 teaspoon ground cinnamon
½ tsp. pumpkin pie spice.
¼ tsp. nutmeg
1 ½ teaspoons baking powder
1/4 teaspoon salt
1 stick cold butter, cut into pieces
1 egg
1/2 cup milk
1/2 cup canned pureed pumpkin (NOT pie filling)
1 teaspoon pure vanilla extract
8 oz. cream cheese, softened
¾ cup powdered sugar, divided
2 Tbs. milk

Preheat oven to 400 degrees F.  Line a baking sheet with parchment paper and have one additional sheet of parchment available.  Mix the softened cream cheese with ½ cup of powdered sugar and beat until smooth.

In a large bowl, sift together the flour, sugar, spices, baking powder, and salt.  Cut the butter into small pieces and blend into the flour mixture with a pastry blender or two knives.  The mixture should look like coarse crumbs.  In a separate bowl, mix together the milk, egg, pumpkin puree and vanilla.  Add the milk mixture to the flour mixture and mix just until the dough comes together.  Knead dough gently four or five times while it is still in the bowl.

Remove half of the dough from the bowl and pat the dough into an 8-inch circle in the center of the baking sheet (it helps to butter your hands so the dough will not stick to you).  Spread three quarters of the sweetened cream cheese evenly over the circle of dough.  Spray the second piece of parchment lightly with cooking spray, and pat the second portion of dough into an 8-inch circle.  Carefully flip the second circle of dough on top of the first and peel off the parchment paper. 

Using a large rotary pizza cutter, cut dough into 8 wedges.  Bake at 400 degrees for 20 minutes, or until round is firm on the edges but still slightly soft in the middle.  Cool on a wire rack.  Beat the remaining cream cheese with ¼ cup of powdered sugar and the 2 tbs. of milk to make a glaze ( a couple drops of vanilla extract and a pinch of salt doesn't hurt, either!).  Spread glaze on the scones and cut apart before serving.

Makes 8 large scones.
4 Comments

Victorian Milk Bread

9/7/2012

0 Comments

 
About a case of whole milk expired on the 3rd, which means the lunch room can't sell it, but as many a mom on a  budget will tell you, it's still OK to drink for a few days after the date.  So I decided to make a big batch of Victorian Milk Bread.  I know that sounds like a really fancy title that would have some archaic recipe to go with it.  But in reality, if you take any basic white dough recipe, use milk instead of water and melted butter instead of oil, you've pretty well got it.  Eric Treuille and Ursula Ferrigno in their excellent book Ultimate Bread  show the bread made in a pan, but the dough is shaped into an S before it goes in the pan.  See a picture of someone else's S-shaped bread here.  Not sure what the big deal is---it doesn't seem to enhance the appearance that much.
Picture
Here's my version: just a classic large loaf.  These were baked in 9 x 5 inch pans, using 2 pounds of dough.

Picture
Here's the whole batch (almost--two loaves are already on the abbey breakfast table!)  The milk in the recipe makes for a more tender crumb and softer crust, and also aids in achieving the golden brown appearance.  I  used honey instead of sugar for the sweetener, about one and a half  tablespoons per loaf. The long loaf in front was baked in a stoneware pan.  The double loaves on the right were baked in the ganged pans pictured below.

Picture
These are heavy duty commercial pans ganged four across.  A whole loaf is a bit unwieldy, so that's why I bake two in each section, 20 ounces each.  If you bake larger batches these pans are really handy, but before you go shopping, measure the width of your oven first to make sure they'll fit!

0 Comments

Sourdough Waffle Failure

9/4/2012

0 Comments

 
I had to renew my sourdough starters yesterday (I have three different strains) so I did the usual routine
1) I stirred in the "hooch", the yellowish liquid that collects on top of the starter, then poured off about half of the starter into a stoneware bowl. 
2) I added 1 cup of filtered water and 3/4 cup unbleached all-purpose flour to each mason jar of starter and mixed well.
3) I let the wild yeast develop in the jars for about four hours, then added another 1/4 cup of flour to each.
4) I let the wild yeast develop another two hours, then added another 1/4 cup of flour and put the starter back into the fridge.

Normally I can stop after step 3, but these starters had been neglected for some time, so I really had to rejuvenate the saccharomyces exiguus colonies in the starter.  So, what to do with the starter I poured off?  Normally, I make sourdough waffles, and that's what I intended.  I added more filterd water and flour to the bowl and covered it with plastic wrap to let the yeast develop, then later on added some whole wheat flour.  But evidently the population of yeast cells was REALLY low, because although I got some bubbling, it was fairly lackluster.

For those who don't know, the fluffiness of sourdough waffles and pancakes comes from the acid produced by the yeast combining with the baking soda in the dry ingredients.  Without sufficient yeast production, I didn't get enough "sour" and therefore got a pretty sad waffle---limp, dense, and a bit eggy.  I should have had the patience to let my sponge develop overnight and gotten up early to make waffles in the morning, which sounds really good now but the "up early" part sounded pretty heinous to me yesterday evening.

You don't need sourdough to make really fluffly waffles.  As my Grandma Tootsie showed by her excellent example in my youth, what you really need are egg whites.  If you separate the eggs in the recipe and only beat the yolks in with the other liquid ingredients, then beat the egg whites to stiff peak stage and fold them gently into the batter, you get a batter that will produce light, crisp, slightly moist, irresistable waffles. 

There are few other tips for waffle making which I have found conveniently collected into a single page on Mr. Breakfast's website: click here for 10 Tips to make Perfect Waffles.  The best waffle recipe I've ever made is in the Better Homes and Gardens Cookbook, the one with a plaid cover, but which also appears here on the Serious Eats website.
0 Comments

Magic Bread

8/31/2012

2 Comments

 
Picture
Pizza night with the new crop of Stage Rats last night, and home grown tomatoes were the stars of the night.  We made the four cheese tomato top and a bruschetta pizza (left) that had terrific flavor.  I was a little short on flour when I made the dough, so it was wetter than usual, more like Italian style dough than my usual American, but the results were excellent.
            As usual, I made more dough than I needed so I could make Magic Bread.  I don't think I've blogged about this before, and I'm going to give you a bonus by printing the entire section on Magic Bread from my book Thursday Night Pizza (Reedy Press, 2010):

One Thursday night I had about a pound and a half of dough leftover and didn’t feel like making par-bakes, so I thought I’d just make a large round loaf of bread to serve at breakfast.  I formed the dough into a smooth round and set it on a pizza peel well-dusted with cornmeal.  It rose while I cleaned the kitchen and my students did the dishes, and then I slid it onto the pizza stone in the oven.  Not wanting the oven quite so hot, I turned the temperature down from 500˚ to 375˚ F.

And promptly forgot completely all about it.

As Divine Providence would have it, however, some helpful Stage Rat came along a minute later and saw the oven had been left on, and helpfully turned it off.  The students all went home with leftovers for their parents, and I went to bed.  The next morning at about 5 a.m. I awoke out of a deep sleep with the nagging feeling I had forgotten something.  The big loaf! 

I dressed quickly and ran down to the kitchen, half expecting it to find it enveloped in smoke or completely in flames.  To my surprise, no smoke alarms, no fire trucks.  With fear and trembling I opened the door to the oven . . .discovered a perfectly baked, slightly crusty loaf of bread that was still warm.  I wasn’t just surprised, I was stunned.  I expected disaster and got a miracle instead.  It was like being a sorcerer’s apprentice who makes a spell work by accident. 

Since then, I have managed to work this spell dozens of times, and it reliably transforms leftovers into breakfast without fail.  My fellow monks, like any good audience, express amazement at the trick.  “This is still warm!” they marvel as they cut thick slices and slather them with butter for breakfast; “What time did you get up to make this?”  But a magician never reveals his secrets.  I just smile and say, “I just took this out of the oven.”

I also like the fact that the Magic Bread is an efficient use of energy and time as well.  Your oven is already at 500˚--why waste all that heat?  The loaf rises quietly out of the way while you’re cleaning up, it goes into the oven, and you’ve already started breakfast before you go to bed. 

Since you, dear reader and pizza lover, are a fellow magician, I’ll share a few secrets to the trick, as a professional courtesy.  First off, you have to have at least 20 ounces of dough, about a pound and a quarter, and always under two pounds.  Any less than 20 ounces and the bread will begin to dry out in the interior and not just on the crusty outside; any more than two pounds and it won’t bake in the middle.  It’s worth it to make a double batch of dough at the start and plan for leftovers.

Secondly, the dough may be a little sluggish to rise if it’s already been through two or three risings, so the finished loaf can be a bit dense.  That, however, has never prevented my fellow monks from devouring every crumb the next day.  Remember, by the time the Magic Bread comes out of the oven, it’s monastic-fast-and-abstinence Friday—toast is all we’re going to get, so it might as well be made with a hearty homemade bread!

I’ve never made the Magic Bread (or pizza, for that matter) without a pizza stone, which retains the heat of the oven for a long time.  So I don’t know if this would work on a baking sheet or metal pizza pan.  Also, I make pizzas as a night time snack rather than at suppertime, so my Magic Bread goes in the oven about 10 p.m.  If yours goes in at 8:00 p.m., I’m not sure if you’ll get the same results.  I do know that as long as you have a pizza stone to bake on, the type of oven (gas, electric, commercial, etc.) doesn’t seem to matter.

Lastly, the Magic Bread has a tendency to split while baking because the initial temperature is so high, so a couple of slashes on the top with a sharp knife before it goes in the oven might not be amiss.  But be warned—if you let the dough rise too long , the dough will completely deflate when you slash it, never to rise again.  So let the dough rise until nearly doubled in bulk but no more.  If it’s gone farther, just put it in the oven without the slashes and take your chances.
Picture
2 Comments

Jewish Challah

8/28/2012

0 Comments

 
Picture
In Junior religion we're studying the Jewish roots of Christianity, and since we were discussing food traqditions I decided to bake some challah as a treat for my classes.  I haven't made it in ages and I confess I have forgotten the Hebrew prayer that one recites while taking off a small piece of the dough known as "Elijah's portion."  Nonetheless, here's the recipe I used, from Season 1 of "Breaking Bread", although I made sinple three strand braids instead of the more complex braids mentioned in the directions. 

CHALLAH 
2 envelopes yeast                                  1/2 cup sugar
1 cup lukewarm water                          3 eggs
1 Tbs. sugar                                             3/4 cup vegetable oil
1 Tbs. salt                                                 1 - 1/2 cups lukewarm water
1 tsp. cinnamon                                   6 to 7 ½ cups of bread flour
1 Tbs.  vanilla                                      1 beaten egg (to brush the top)

     In a small bowl, proof the yeast with the cup of lukewarm water and tablespoon of sugar.  Add 2 cups of the flour and let stand for about 30 minutes to allow the yeast to develop.  In a large bowl, combine water, oil and eggs and mix well.   Stir in the salt, cinnamon, vanilla, and sugar.  Add the yeast sponge and mix well.  Add the remaining flour, about a cup at a time, until you get slightly firm dough--it will be a bit softer than ordinary bread dough because of the eggs.  Knead for about five minutes, and then let rise, covered, until doubled in bulk, about an hour and a half.

            Punch down the dough and turn it out onto a lightly floured surface.  Knead briefly to work out the larger air pockets.  Divide the dough into seven equal pieces and roll each piece into a rope, about 12" long.  Braid four of these ropes together, tucking the ends underneath.  Place on a lightly greased baking sheet.  Braid the remaining three ropes and gently place them on top of the four-rope braid.  Cover with a towel and let rise until nearly doubled in bulk--the loaf will be quite large.

            Brush all over with the beaten egg and sprinkle with sesame or poppy seed if desired.  Bake in preheated oven at 375° until golden brown, about 45 minutes.  If your oven doesn't bake evenly, be sure to turn the pan around every 15 minutes or so.  Cool on a rack.

Notes
---I’ve seen many different recipes for challah (there are 57 of them on www.food.com), but I like Marian Honig’s version, (found in her excellent book Breads of the World), which I have adapted here.  Her addition of small amounts of vanilla and cinnamon make this bread smell heavenly as it’s baking.  This recipe takes a lot of time and effort, but it's really worth it. 
--The large braided loaf is the traditional form, but you can make two smaller single braids, or form wreaths. 
0 Comments
<<Previous
Forward>>

    Author

    Fr. Dominic Garramone AKA 
    the Bread Monk

    Categories

    All
    Breadhead Bookshelf
    Breakfast Breads
    Buns Rolls And Biscuits
    Craftsy
    Donuts
    Equipment
    Ethnic Breads
    Events
    Gluten Free
    Herbal Breads
    Holidays
    Lake Thunderbird
    Memories Of Mama
    Multigrain Breads
    Pastries
    Pizza
    Places To Visit
    Quick Breads
    Reflections While The Bread Is Rising
    Savory Breads
    Sourdough
    Spirituality
    Stuff Besides Bread
    Sweet Breads
    The Classics
    Tools Of The Trade

    RSS Feed

    Archives

    June 2024
    December 2023
    September 2022
    April 2022
    March 2022
    February 2022
    January 2022
    October 2021
    May 2021
    April 2021
    March 2021
    February 2021
    August 2020
    July 2020
    May 2020
    February 2020
    October 2019
    June 2019
    September 2018
    July 2018
    May 2018
    April 2018
    March 2018
    February 2018
    January 2018
    December 2017
    November 2017
    August 2017
    July 2017
    June 2017
    May 2017
    April 2017
    March 2017
    February 2017
    January 2017
    December 2016
    November 2016
    October 2016
    September 2016
    August 2016
    June 2016
    May 2016
    April 2016
    February 2016
    December 2015
    November 2015
    October 2015
    September 2015
    August 2015
    July 2015
    June 2015
    May 2015
    April 2015
    March 2015
    December 2014
    November 2014
    October 2014
    September 2014
    August 2014
    July 2014
    June 2014
    May 2014
    April 2014
    March 2014
    February 2014
    January 2014
    December 2013
    November 2013
    October 2013
    September 2013
    August 2013
    July 2013
    June 2013
    May 2013
    April 2013
    February 2013
    January 2013
    December 2012
    November 2012
    October 2012
    September 2012
    August 2012
    July 2012
    June 2012
    May 2012
    April 2012
    March 2012
    February 2012
    January 2012
    December 2011
    November 2011
    October 2011
    September 2011

Web Hosting by FatCow