I explored Danish pastry dough for the first time in Season Three of Breaking Bread with Father Dominic (20 years ago!) and I'm embarrassed to say that I have done very little with it ever since. But since I have a new book coming out in August titled Breakfast Breads and Sweet Treats, I figured it was time to renew my friendship with this sweet laminated dough.
My original recipe made a HUGE amount of dough, enough for dozens of almond bear claws, so I decided to re-work the recipe into a half batch. This change has the added benefit of making the technique more manageable, so you don't need to roll the dough out two feet wide. I have a commercial kitchen, but never everyone has that kind of counter space!
The step by step recipe is below, which is only for the dough. Future blogs (soon---I promise!) will show shaping techniques.
Danish Pastry Doughnish Pastry Dough
1 pkg. active dry yeast
3/4 c. warm milk (100° to 110° F.)
3 tablespoons sugar
½ teaspoon salt
1 egg
2½ cups all-purpose flour, divided
1 cup (2 sticks) cold unsalted butter
In a medium size bowl or stand mixer, dissolve yeast in warm milk and let stand until foamy (about 10 minutes). Add sugar, salt and eggs and stir until blended. Add 2 cups of flour and beat until smooth (about 2 minutes). Stir in another ¼ cup of flour until thoroughly incorporated, but don’t overwork the dough. The mixture will be halfway between batter and bread dough---your bread baking instincts may be screaming at you to add more flour or beat it longer, but turn a deaf ear. Cover the bowl with plastic wrap and put it in the refrigerator for at least 60 minutes.
Cut the unsalted butter into slices and place it in the bowl of a stand mixer with the remaining ¼ cup of flour. Process with the paddle attachment on medium high until smooth. Form the butter into a flattened rectangle and place it between two large pieces of parchment lightly coated with pan spray. Roll the butter out between the sheets into a rectangle about 8” x 10”. Leave butter between parchment sheets and place it in the refrigerator to firm up again.
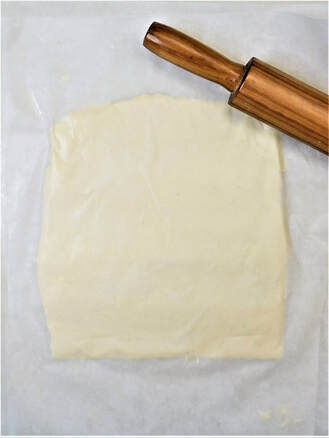
Remove dough from refrigerator, and set aside a piece about the size of a small walnut (that’s your emergency repair kit, which you may need later. On a well-floured board or pastry cloth, roll the dough out into a rectangle 18” x 10”.
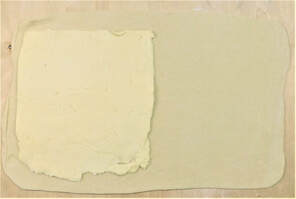
Peel the top layer of waxed paper off the butter, and turn it over onto one half of the dough. Peel off the remaining waxed paper, and brush the edges of the dough lightly with water. Fold the dough on one side over the butter and dough of the other side, stretching gently to line the edges up as needed. Press edges to seal.
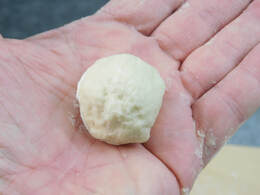
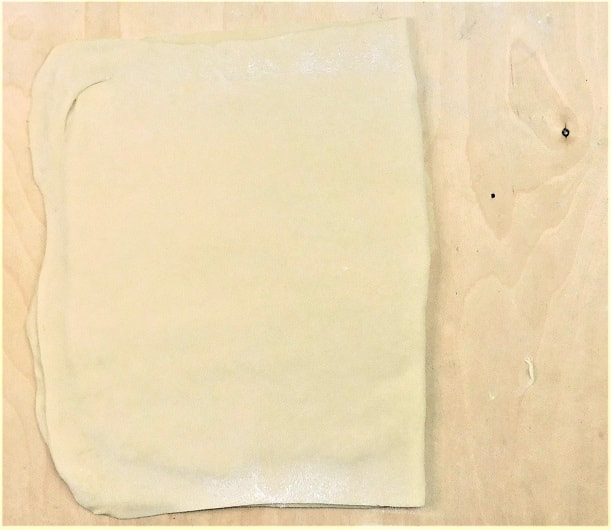
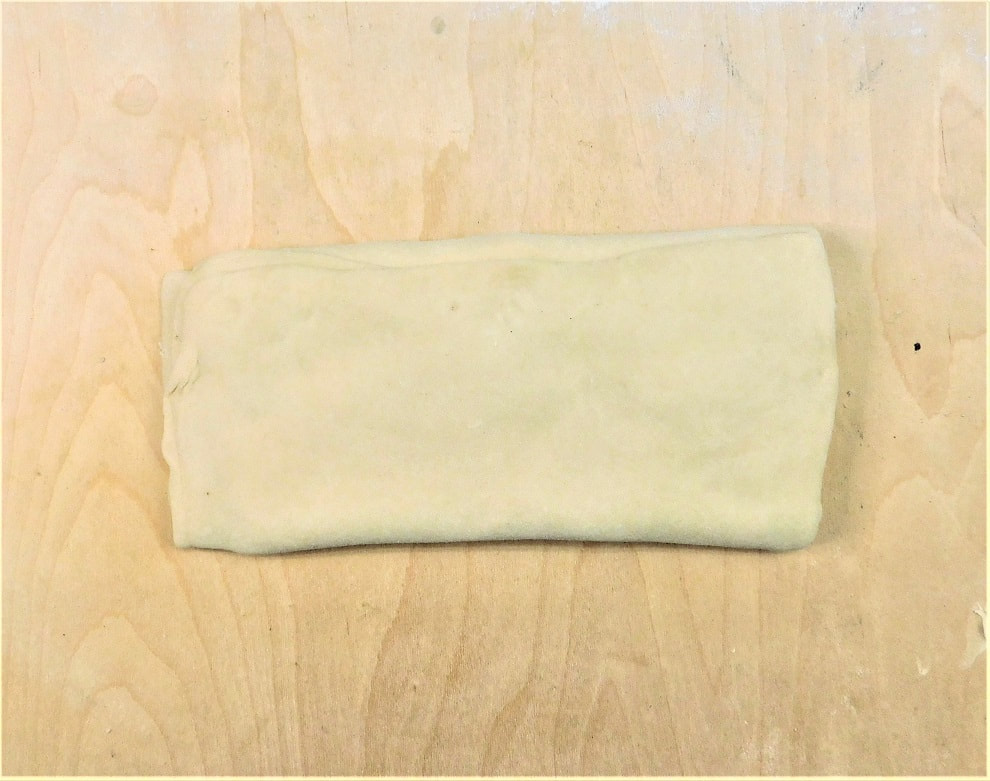
You now have an envelope of dough, 9” x 10”, with a butter love letter tucked inside. Fold one third over the center of the dough, and use a dry pastry brush to brush off the extra flour on top. Fold the remaining third over that, so you now have a triple-decker package about 5” x 10”. Line up the edges carefully and press them together. Turn the package with the narrow side directly in front of you and dust the top very lightly with flour. Roll the dough out to 10” wide and 18” tall. Fold again into a triple-decker, wrap in wax paper or parchment, and refrigerate for 15 minutes (you now have 27 layers of butter). Repeat this process---roll out, fold, refrigerate---2 more times, after which you will have 27 x 3 x 3 = 243 layers of butter. If in the process of rolling the dough out, a hole appears in the dough and the butter sticks out, cover it with a small piece of your emergency repair kit.

Refrigerate the dough for a final 60 minutes, or overnight, and then it will be ready to form into Danish pastries. If you refrigerate it overnight, be sure to wrap it loosely but thoroughly---I wrap mine once loosely in parchment paper that has been coated with pan spray, then wrap it once in plastic wrap. The dough will expand in the fridge, and you don’t want it to blow out of the wrapper.
 RSS Feed